
Purchasing iron balusters is exciting – a new, fresh interior design is within your reach. We’ve compiled the best ways to prepare for iron baluster design, purchase, and installation. Remember these details along the way to make the process smoother.
1. Calculate Iron Baluster Spacing
Make sure your stairs are safe by designing a baluster system that meets code. Order the right amount of iron balusters by following the Iron Baluster Rule of Three: if you’re mounting onto treads, plan for three iron balusters per tread. If you’re mounting on a knee wall, you’ll need three iron balusters per linear foot.
You may notice that not all styles are the same width. For example, Wide Scroll Iron Balusters take up more space than simple straight iron balusters, so you may may only need one Scroll Iron Baluster and one straight iron baluster per linear foot. Give us a call if you have any questions about uniquely shaped iron balusters.
Following this rule helps you maintain code compliance for your stairway, ensuring that a 4” sphere cannot fit through any portion of the railing. This safeguards the stairway for children and keeps your railing adequately supported.
For more information about railing code compliance, read 3 Questions You Need to Ask your Code Official before Starting a Railing Project.
2. Lay Out the Perfect Iron Baluster Pattern
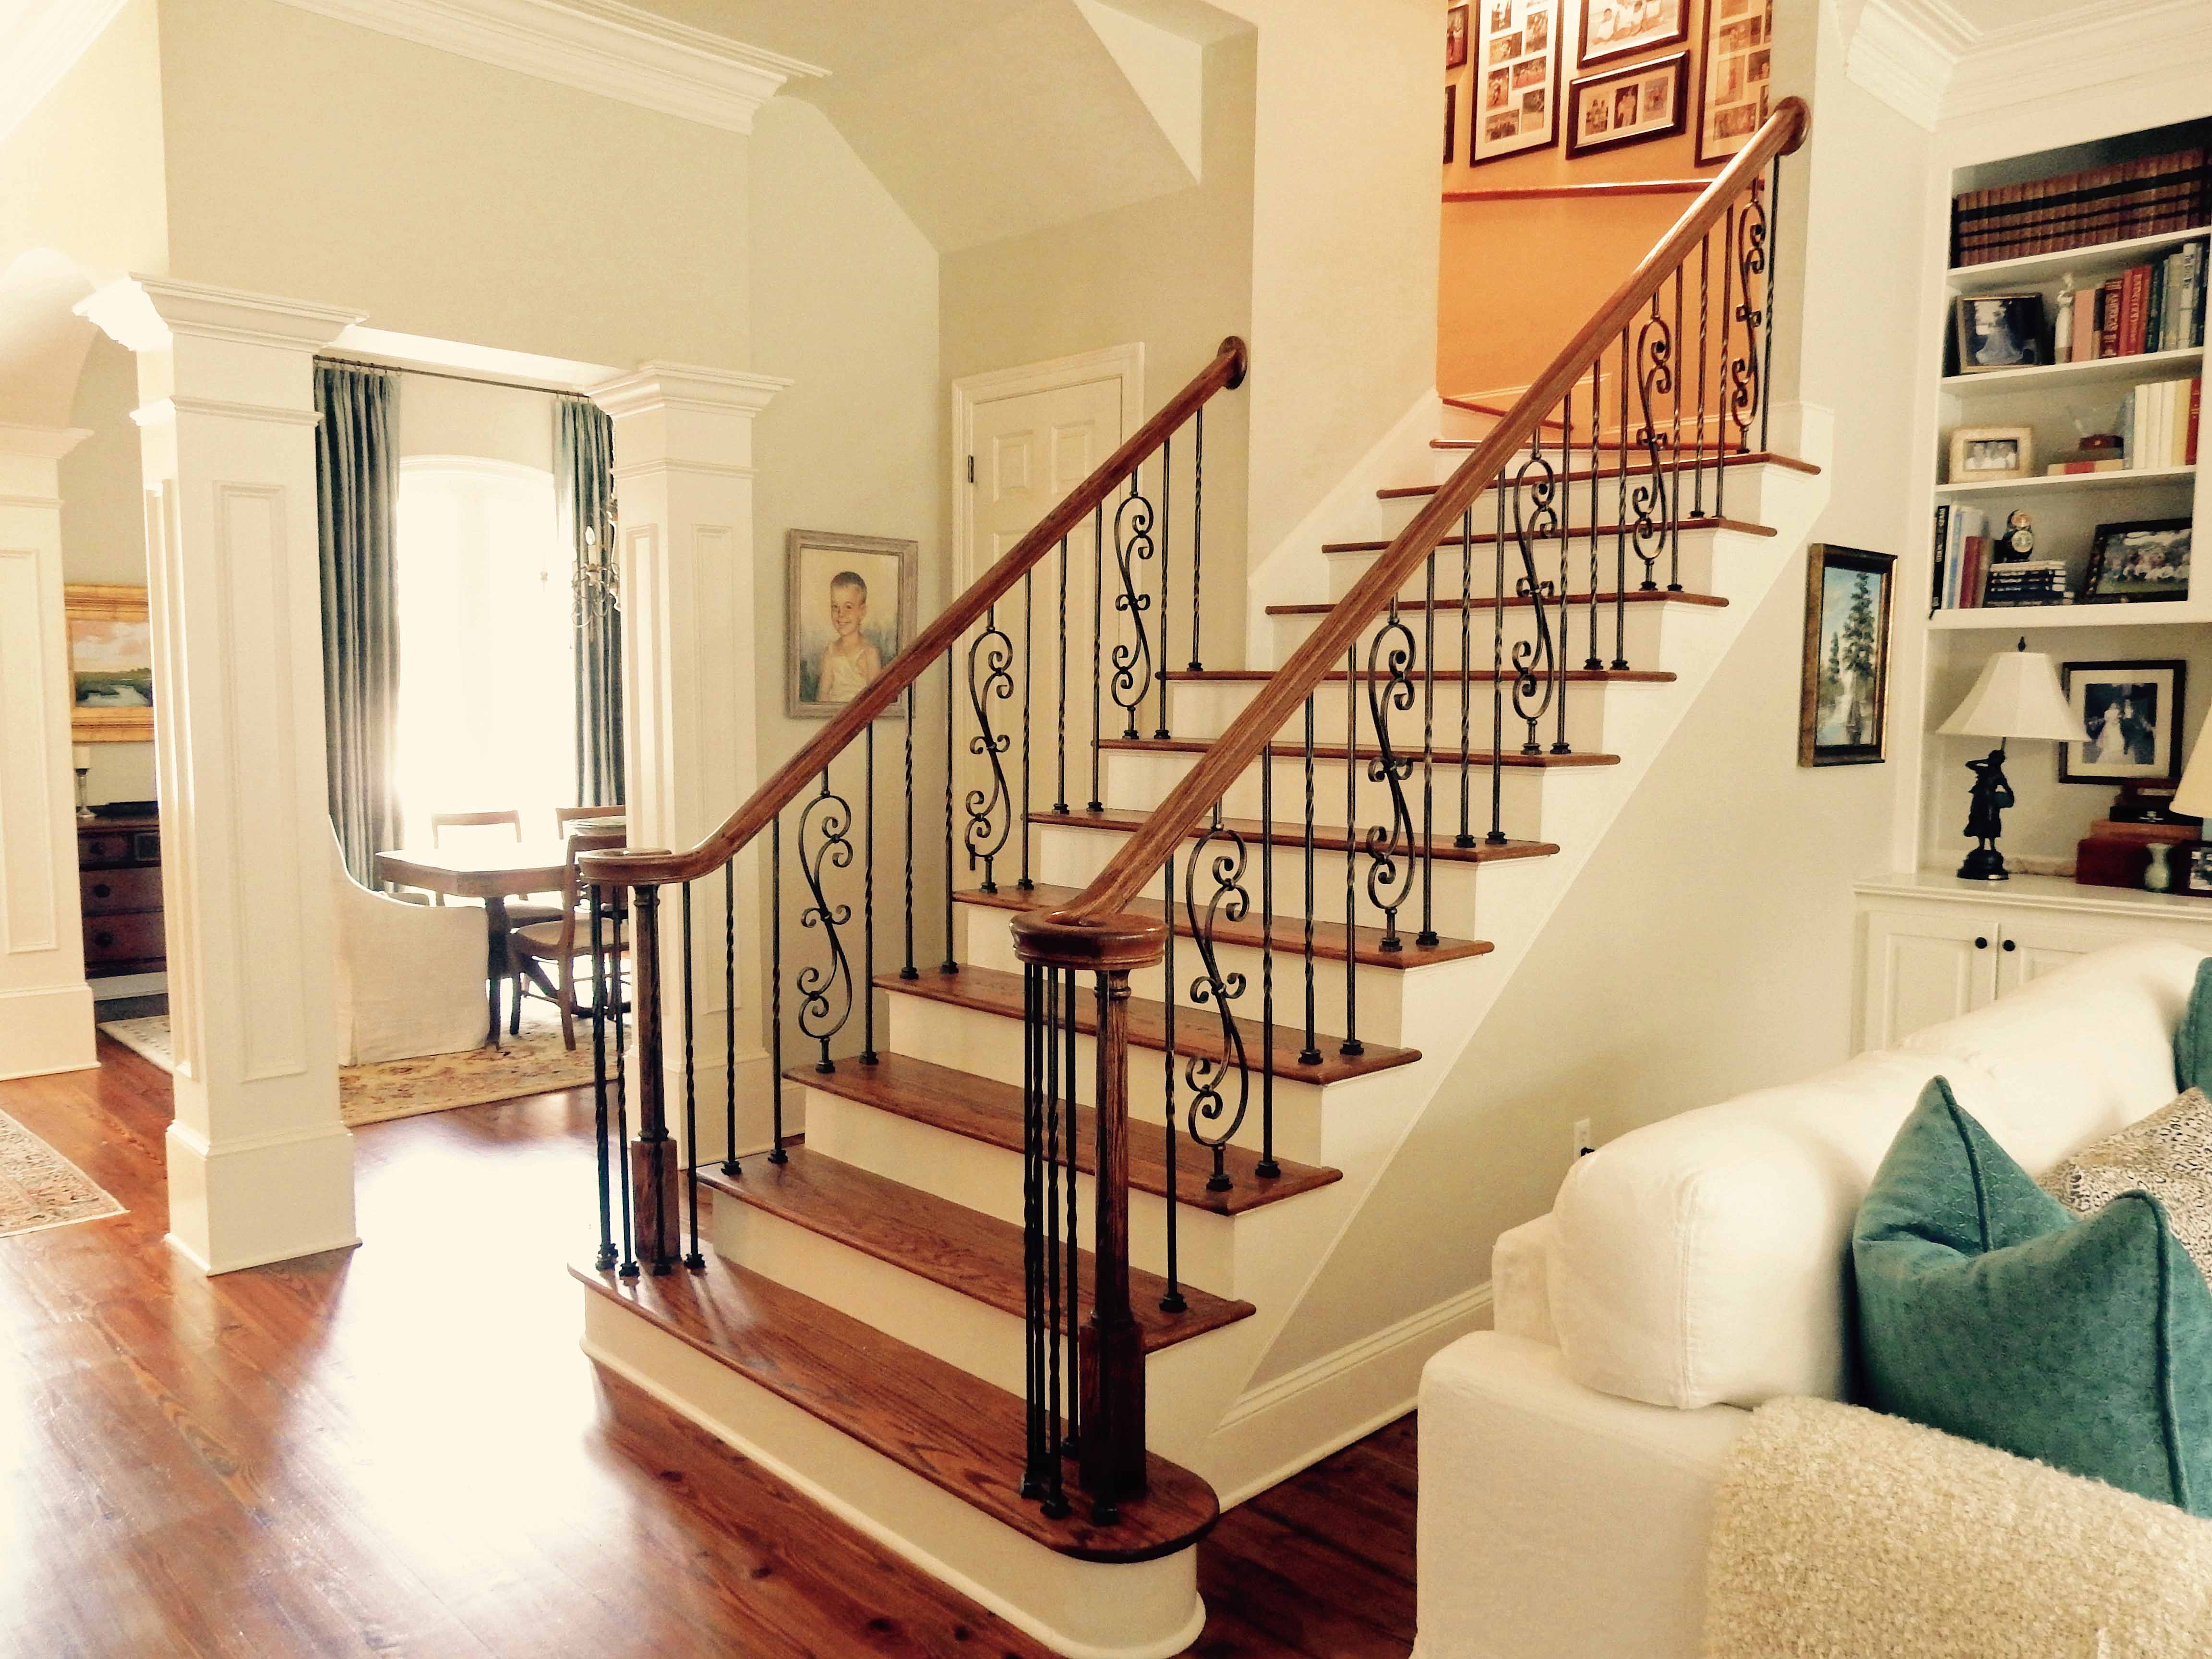
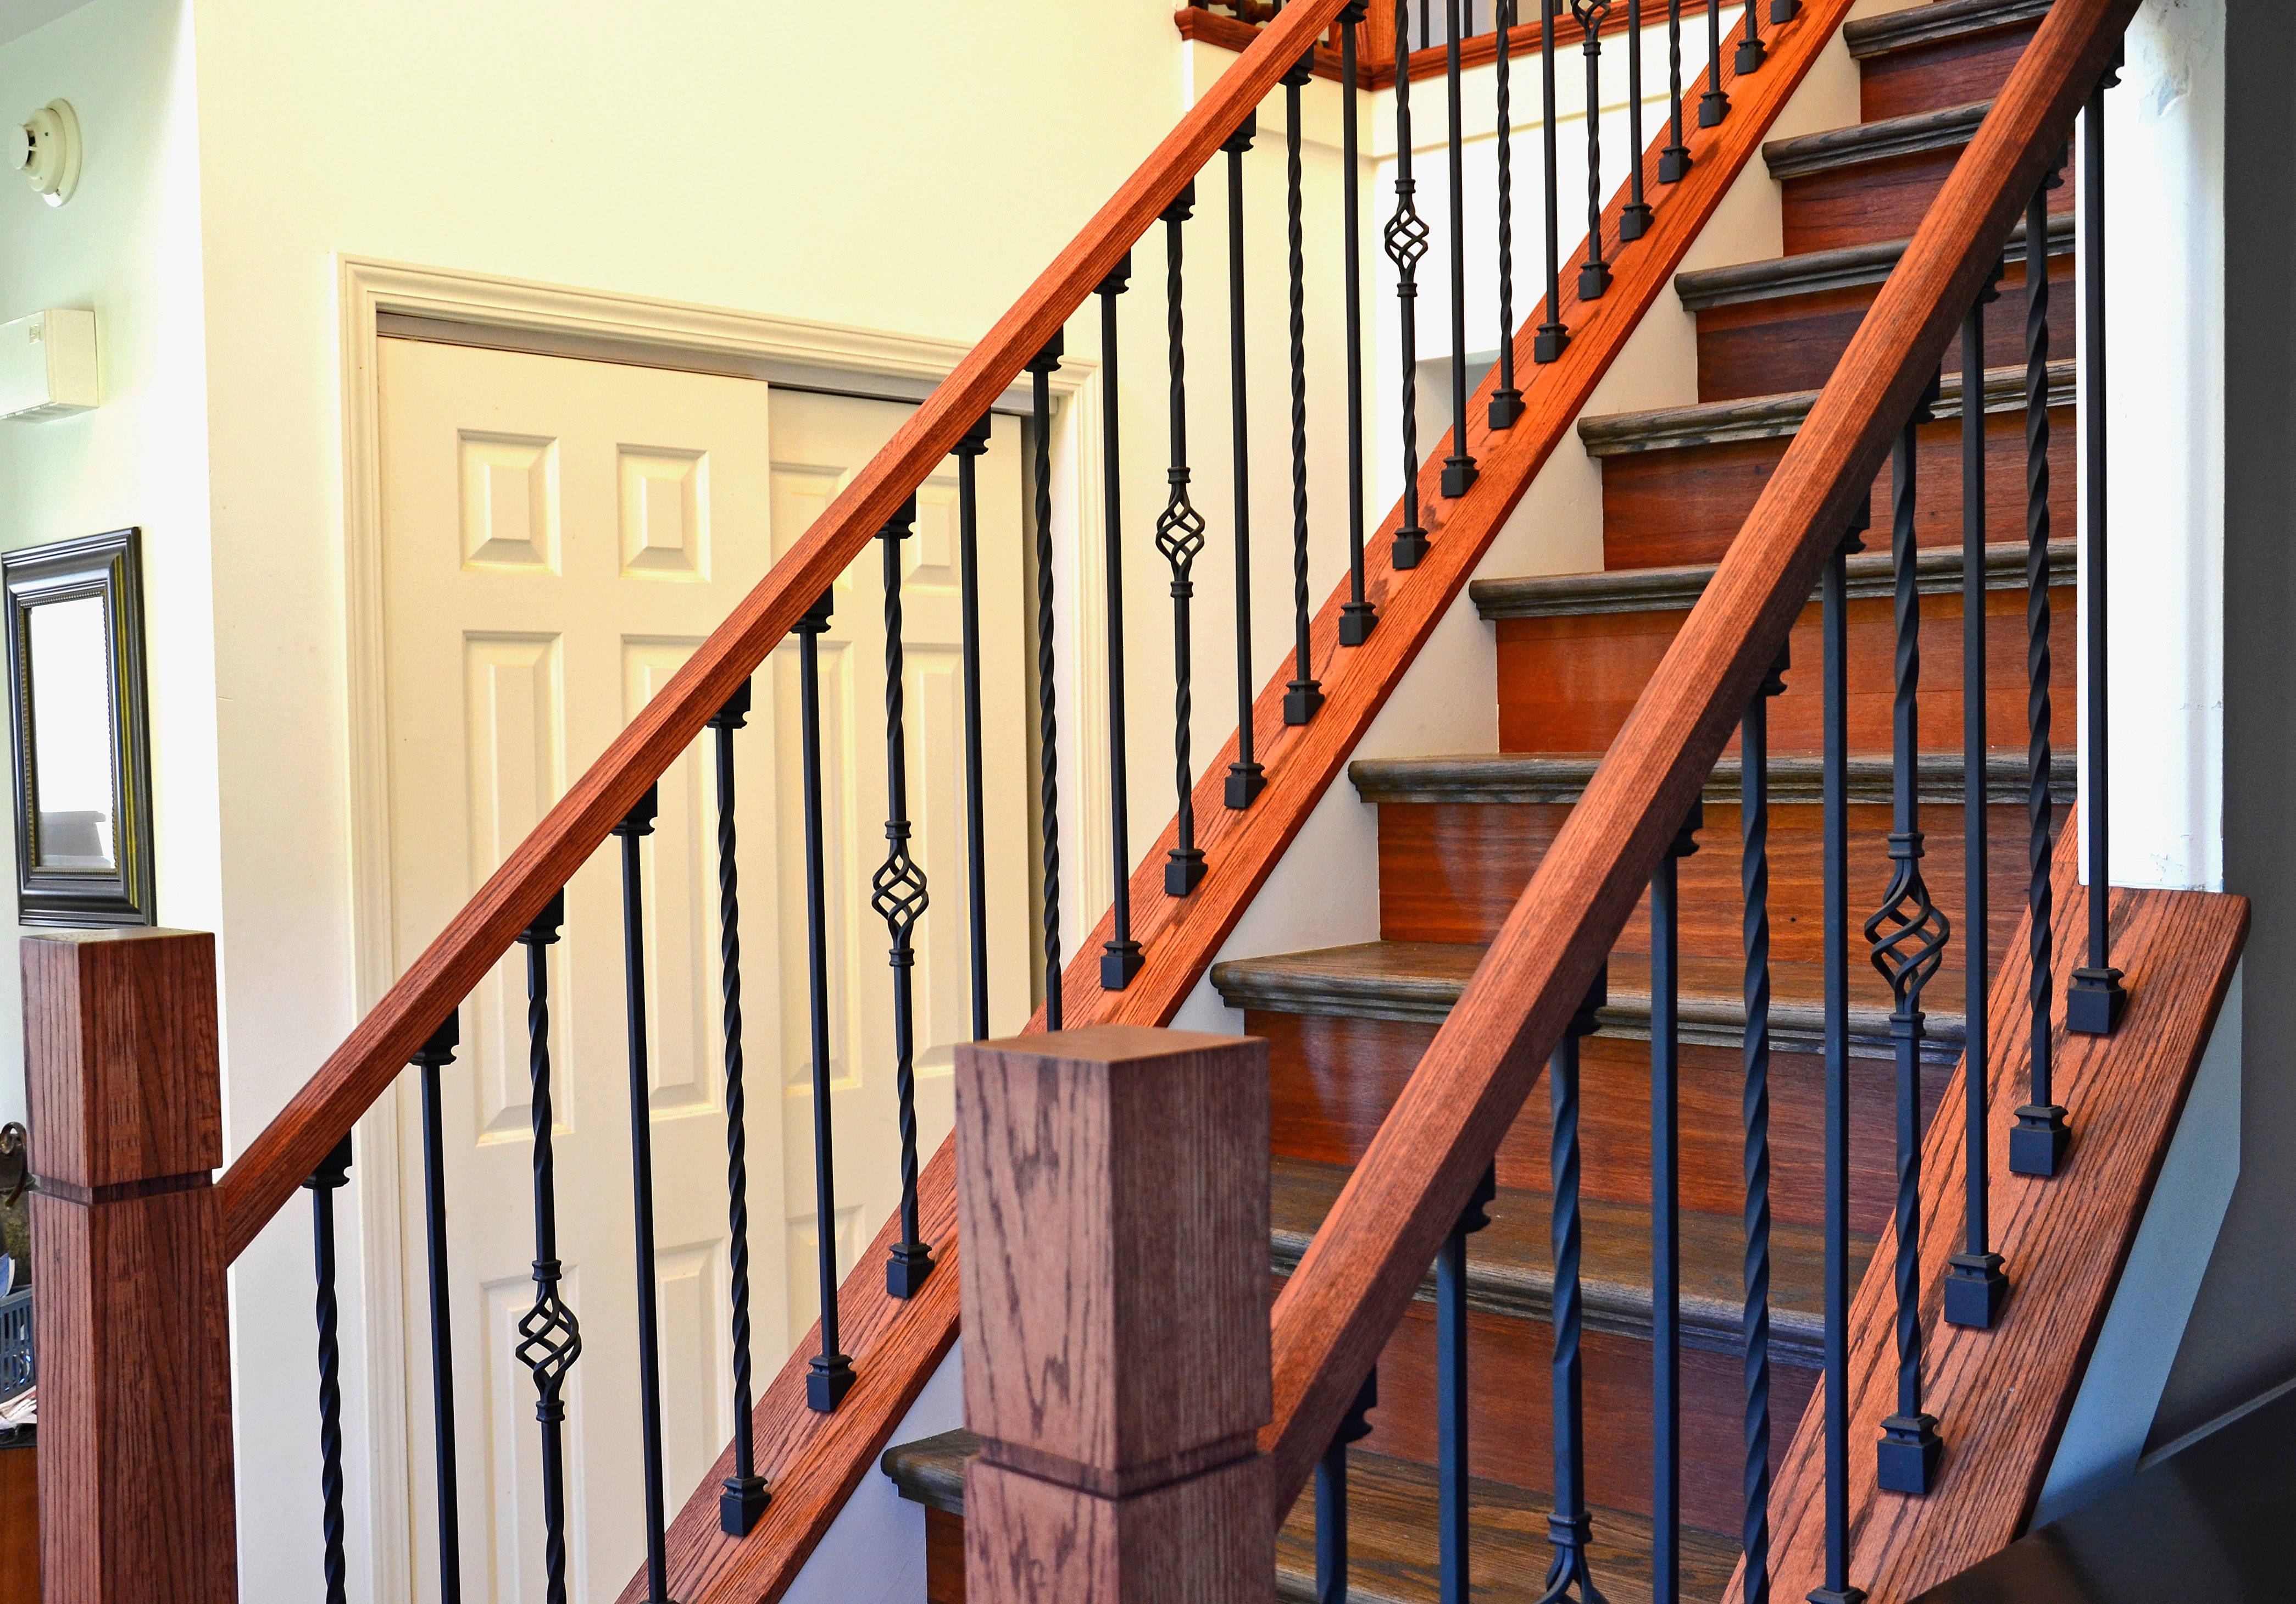
Most iron baluster railings actually consist of a pattern of 2 or more styles. A simple way to find coordinating balusters is to select them from the same Style Series. For example, you can feel confident to mix and match any styles from the Twist Series – just be sure to select the same finish on each style.

Get started on your iron baluster pattern design by choosing simple balusters, like the Single or Double Twist Iron Baluster, and add Single Basket Iron Baluster every 2 or 3 balusters. Then, if you want to accentuate a certain area, consider adding a statement piece from the Scroll Series, such as the Scroll Iron Baluster.
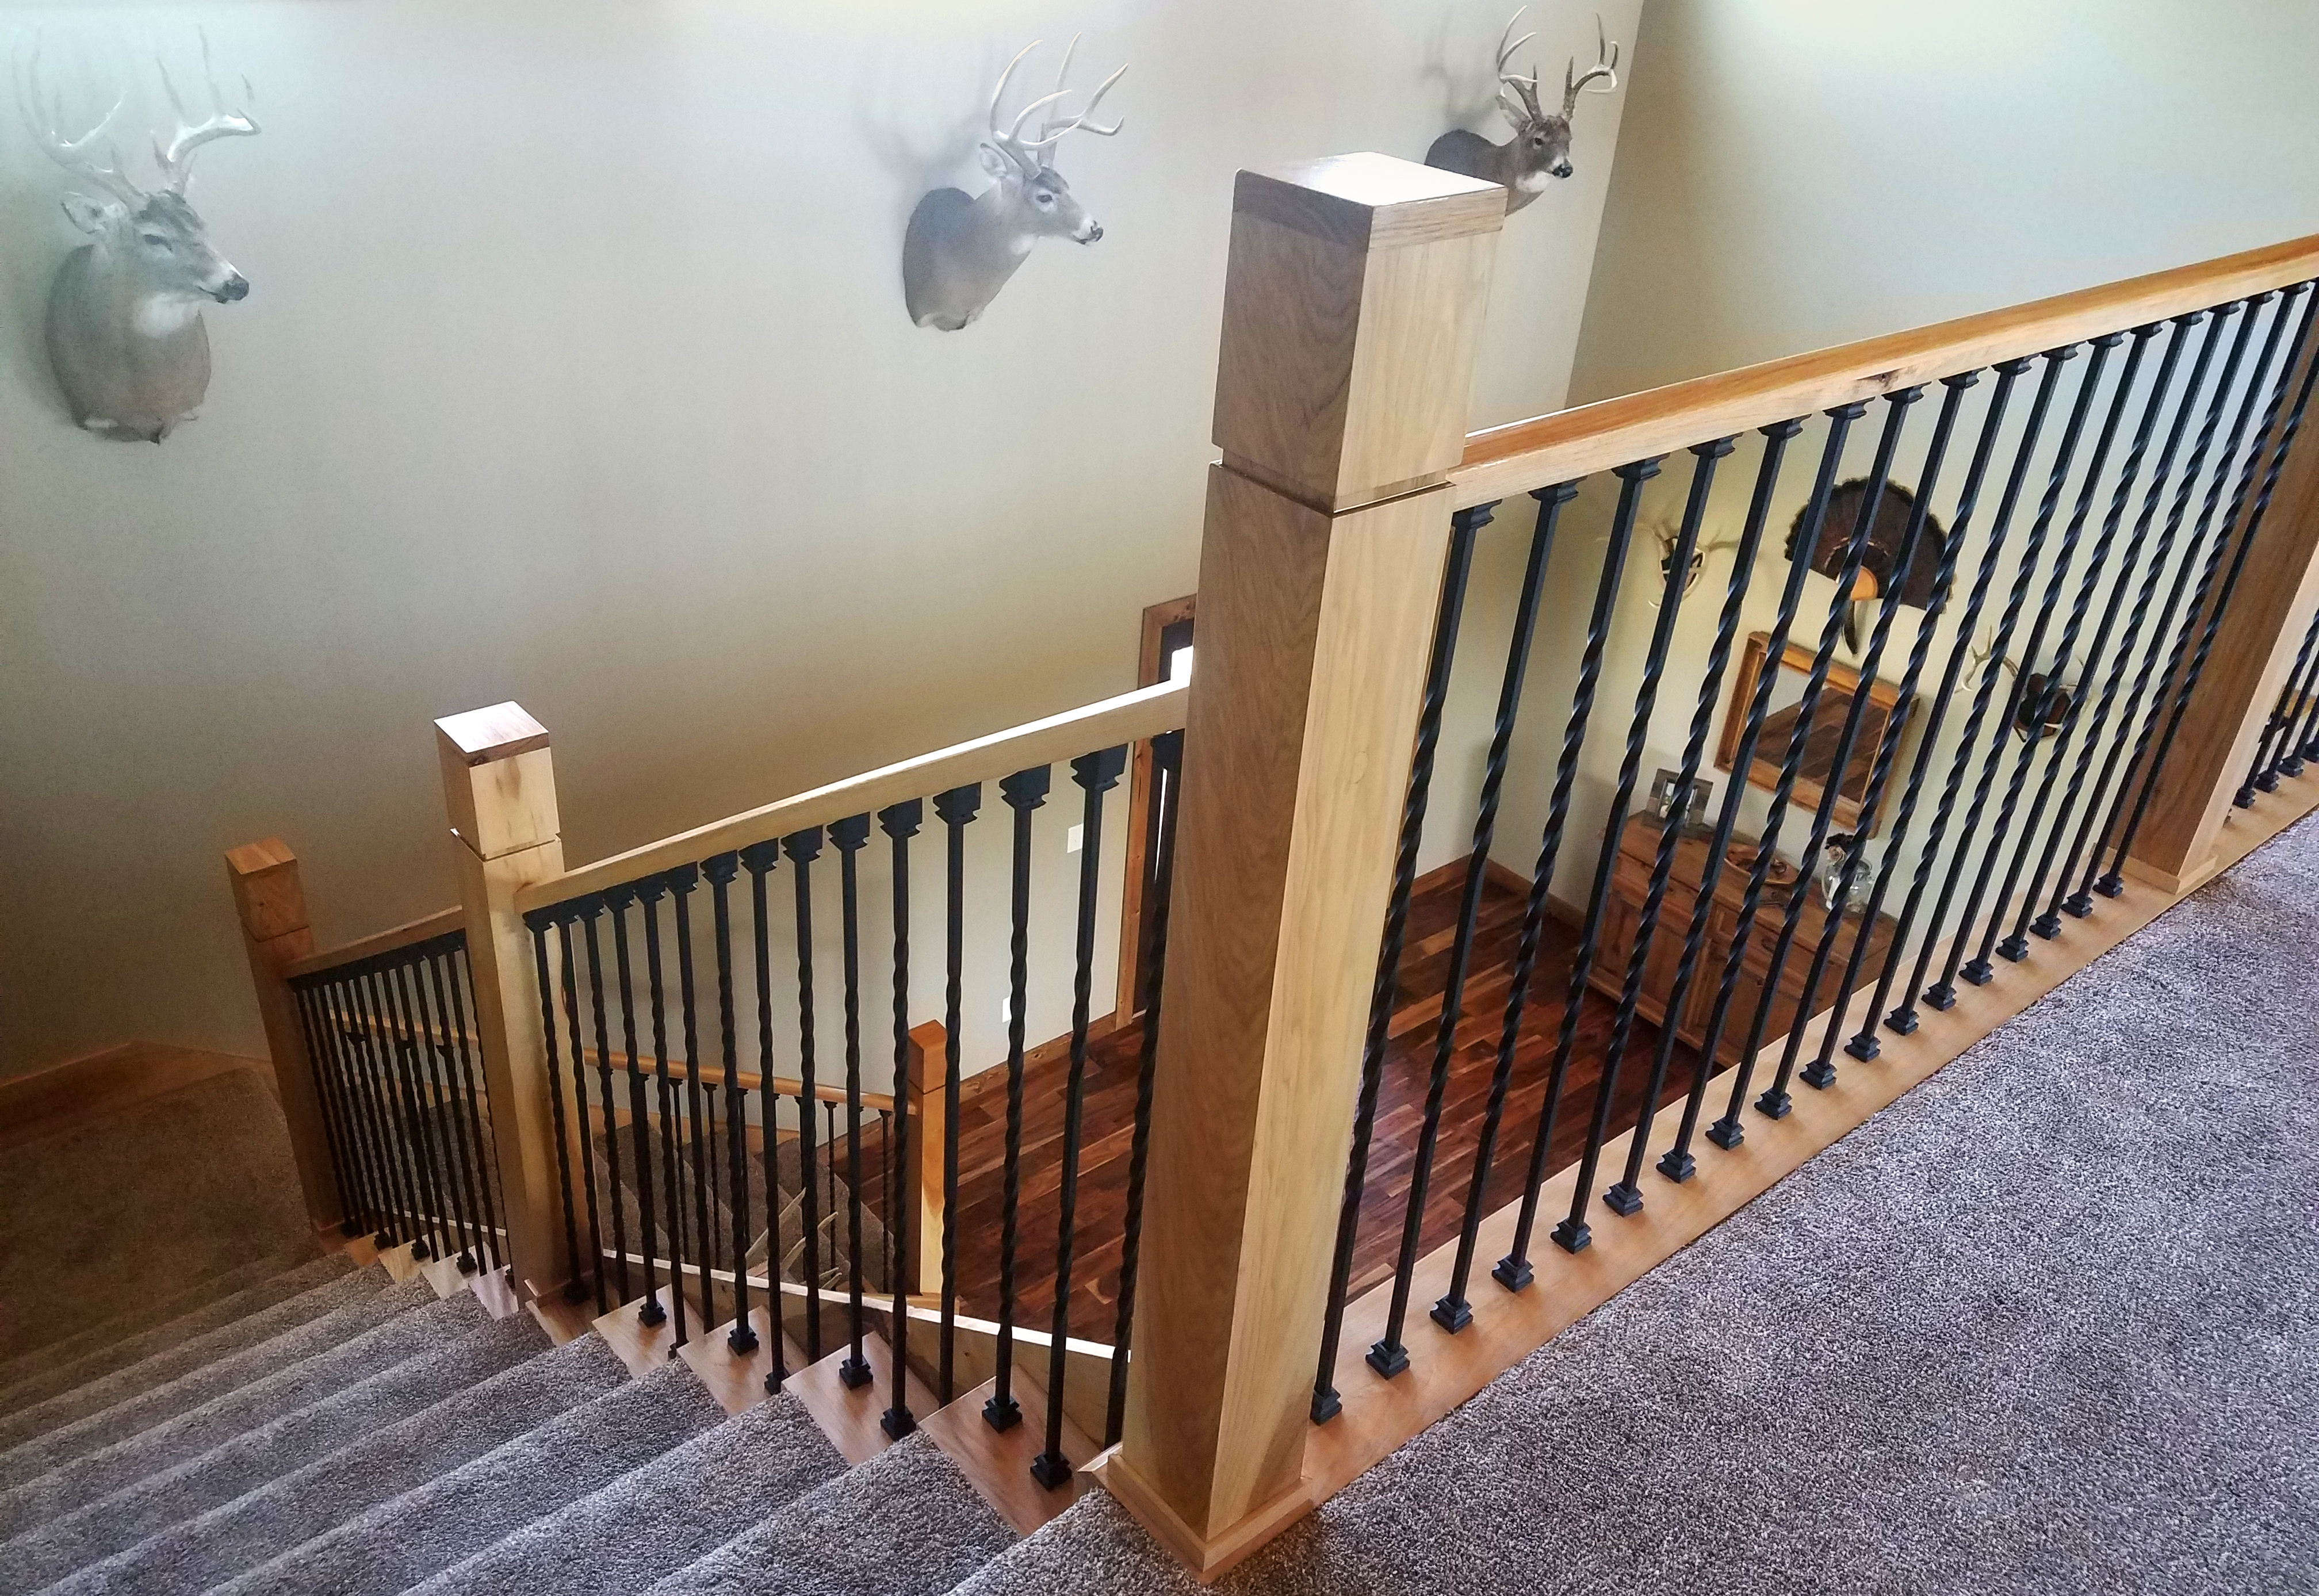
There is also a stunning line of wrought iron newels, larger iron posts to support your stairway handrail. Each iron baluster series has a coordinating iron newel design. We love how the homeowners in Project #234 used iron newels to tie the entire look together.
It can be tricky to visualize iron baluster patterns – that’s why we offer the Iron Baluster Designer Tool! This fun, interactive tool lets you insert each variation of baluster on various backgrounds to find the pattern and style that’s right for your home. Check it out!

3. Order a Sample Pack
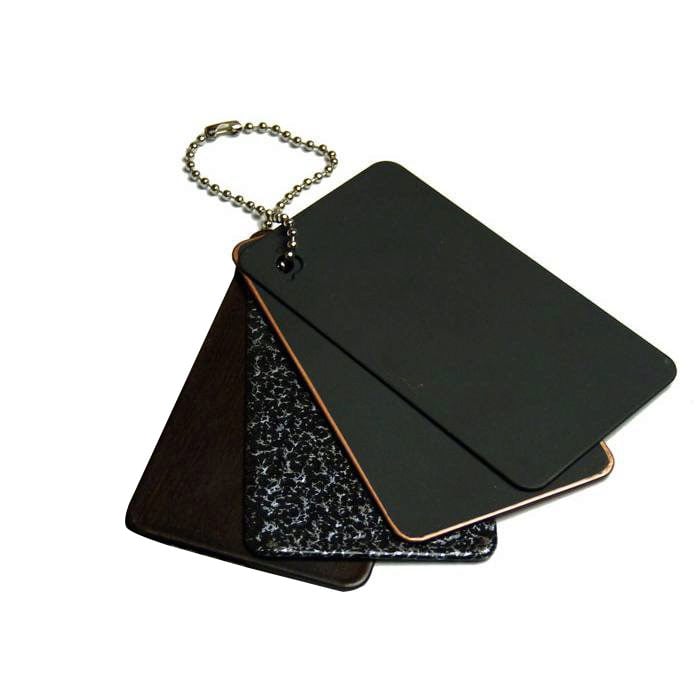
Before commiting to a significant purchase, it can be reassuring to see your options in person. That’s why we offer a sample pack of the 5 most loved StairSupplies™ iron baluster finishes. You can hold it in your home, choose the finish that you love, and order with confidence.
4. Inspect Other Stair Parts – Are they Compatible with Iron Balusters?
Whether you're updating old balusters or completely remodeling, it's important to check that your existing stair parts are compatible with your new iron balusters. Usually this isn’t an issue, but here are a few tips for troubleshooting Iron Baluster compatibility.
- Mounting location: Check to make sure you have a solid base available for mounting the iron balusters. It might be your treads, or it might be an angled knee wall. Either way is fine! It just needs to be strong, solid, and have space to install and secure the balusters with epoxy.
- Handrail: StairSupplies™ Iron Balusters are designed to work with most styles of wooden handrails and handrail fittings, but be sure the new style combination matches your overall vision for the project. Also consider updating existing wall mounted handrail brackets with iron brackets to unify the design.
- Check for damage left behind: If you’re ripping out balusters, be sure to inspect the remnants. Are there any gashes in the treads or knee wall? Gaping holes that can't be covered by foot covers? Do you plan to space the new iron balusters differently than the old balusters were spaced?
Since you’re already remodeling, it might be a great time to update the rest of your staircase. Fresh newels to match your incoming iron balusters can make a big difference!
5. Buy Necessary Accessories for Iron Balusters
Though they're small, Iron Baluster Foot Covers are essential to a clean, finished appearance. After installation, the base might look a bit messy with chipped wood from drilling or bits of epoxy exposed. These foot covers slide right overtop the mess to leave it looking fresh.
Available in both flat and angled, these decorative aluminum feet coordinate with all of the iron baluster styles. There are two thickness options, so be sure to choose the size that matches your selected iron balusters.
Often, homeowners also choose to use the covers at the top where the baluster connects to the handrail. On stairs, use angled feet. Use flat feet for areas like balconies. Check out Project #272 and Project #244 to see the beautiful results.
6. Have Iron Baluster Installation Tools Ready
You’ll need a few tools to install iron balusters. You can easily find most of these tools at your local hardware store, but we do recommend purchasing StairSupplies™ epoxy, which has the perfect strength and consistency for iron baluster installation.
- Metal Cutter: For a clean cut, resize both hollow and solid iron balusters by using a Metal Abrasive Cutting Blade with fine teeth. Before you cut, be sure you've made careful measurements and have read about the appropriate length needed for installation in the Iron Baluster Installation Guide. Cut slowly to limit burring and achieve a level cut.
- Drill & Wood Bit: There are two sizes of Iron Balusters available, so drill your handrail and base holes accordingly. Use a ⅝” wood bit for ½” balusters and a ¾” wood bit for 9/16” balusters.
- Epoxy Gun: You’ll want to secure your balusters with an adhesive – we recommend our epoxy. Its precision applicator and its thicker consistency make it less likely to drip onto your beautiful new balusters as it dries.
Read more about the installation process here.
Did you learn something new? Let us know if you have any other questions about preparing for your iron baluster project. Fill out a Design Help Form to get started.

